Note: You can view the code related to this project at https://github.com/vidorado/truminus
Introduction
If you own a motorhome with a Truma Combi heater, you’ve probably shared my frustration: You’d like to turn on your boiler 20 minutes before you come back to the van, so you can take a shower immediately, but the standard CPPlus controller doesn’t allow internet connectivity out of the box. Sure, you can buy an iNet Box, but it requires a yearly subscription and—here is the catch—your CPPlus unit must be “iNet Ready.” Mine wasn’t.
Instead of paying for a subscription and upgrading my hardware to a closed ecosystem, I decided to build my own solution. Inspired by the olivluca/truminus and olivluca/TrumaDisplay projects, my original plan was to build an iNet Box simulator that would sit in parallel on the Truma TIN bus. Even though my CPPlus didn’t say “iNet Ready,” it was a brand-new 2025 heater, so I gambled on it being compatible. Spoiler alert: I was wrong.
I’ve developed the core of the project using Claude Code and Kimi K2.6. It’s been an incredible experience acting as the orchestrator, focusing on the UX and QA, while letting the AI handle the heavy lifting of implementation details.
Phase 1: The “iNet” Gamble
My first approach was conservative. I didn’t want to remove the original CPPlus, so I planned to build a “Man-in-the-Middle” device. Using an ESP32 C3 Supermini, I tried to emulate an iNet Box to sit alongside the original controller on the TIN-Bus.
I had high hopes. My heater was a brand-new 2025 model, and I assumed Truma would have made it compatible by default. I spent time trial-and-error-coding the emulation layer, but the heater simply wouldn’t recognize the device. The lesson? If the screen doesn’t say “iNet Ready,” it really isn’t.
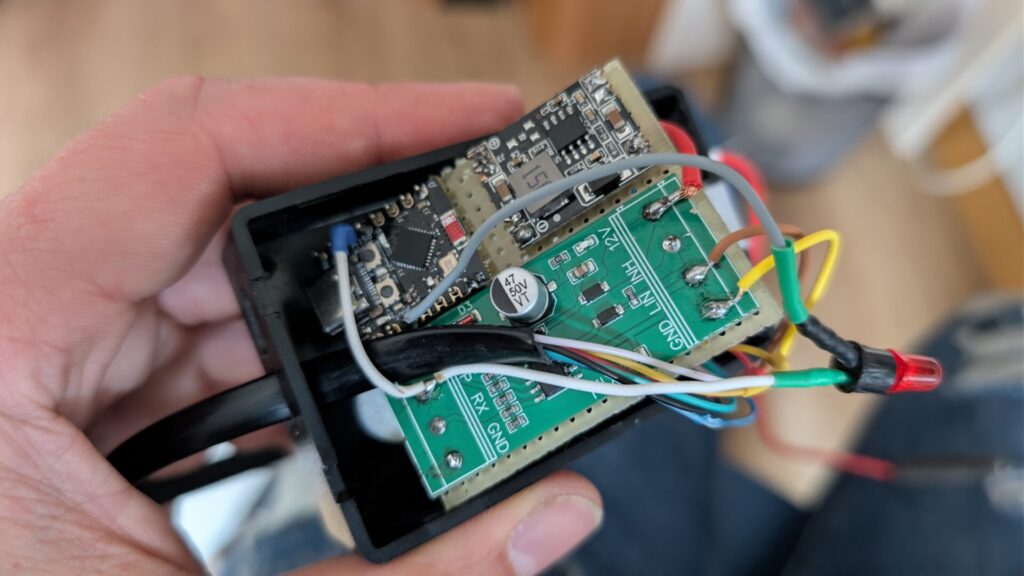
The first prototype with the ESP32 C3 and wires everywhere
Phase 2: Pivoting to the CYD (Cheap Yellow Display)
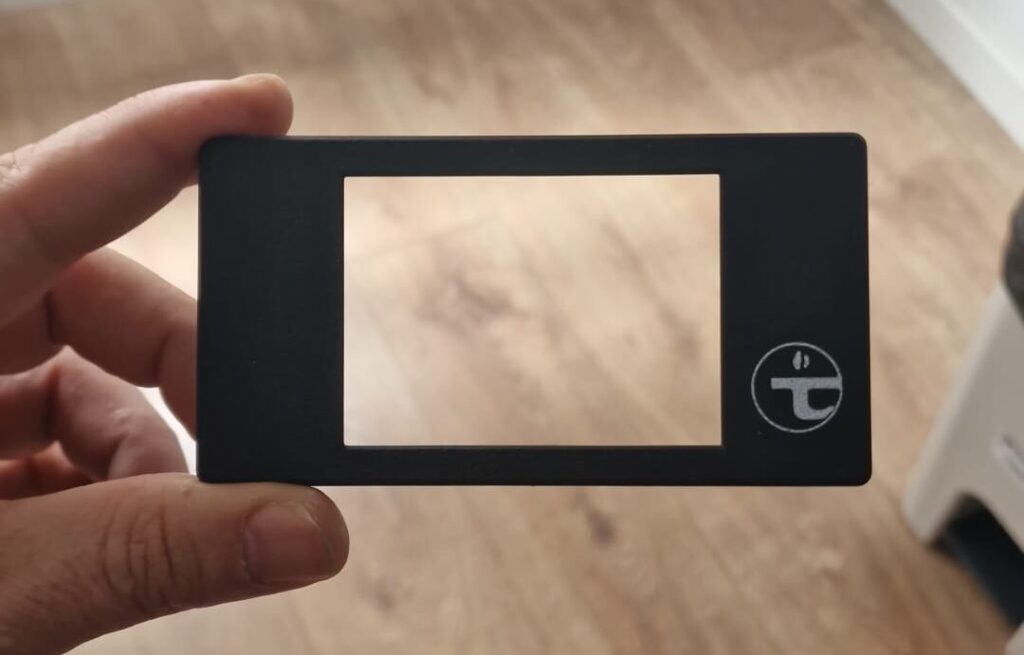
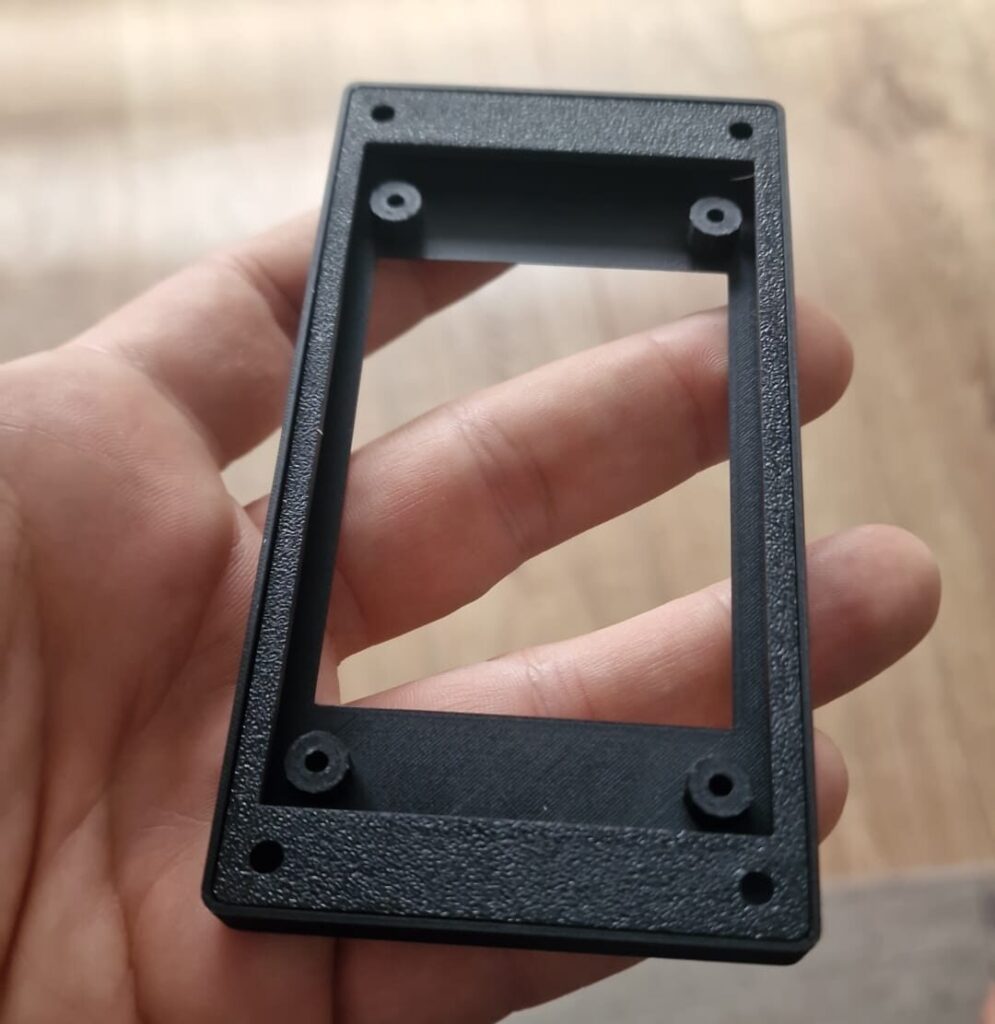
Since I couldn’t “talk” to the CPPlus, I decided to replace the CPPlus. I moved the project to the ESP32-2432S028, popularly known as the CYD (Cheap Yellow Display). This gave me a 2.8-inch touchscreen and some GPIOs.
To make it fit the motorhome’s aesthetic, I designed a custom PCB the exact same size as the screen. This “sandwich” design meant the unit would be deep but have a small footprint on the wall, making it much easier to mount.
The Software Grind: I spent hours at my desk iterating on the UI (AI doesn’t hit the bullseye with C++ and embedded hardware as quick as with other more common technologies like PHP, Javascript… etc.
I wanted a professional feel, with intuitive menus and a built-in web server. The biggest headache was the ESP32’s memory. Between the graphic library (LVGL/TFT_eSPI), the Wi-Fi stack, and the web server, I kept hitting “Out of Memory” crashes. It took many some nights of code optimization and AI-assisted debugging to get the loop running smoothly.

The CYD display showing the main menu
Phase 3: Field Testing & Reverse Engineering
Once the UI was stable, it was time to move from the desk to the van. This is where things got real. I used WomoLIN logs as a baseline, but since my heater was so new, the commands didn’t match perfectly, so I had to perform Live Sniffing. I connected the CYD in parallel with the original Truma panel and watched the hex codes fly by.
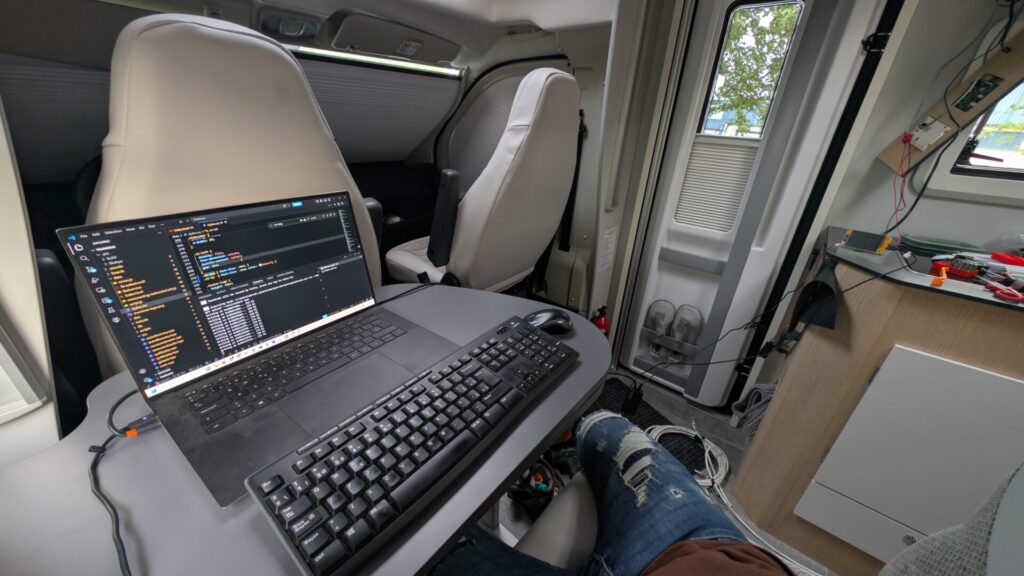
Working inside the van, wires connected to the Truma unit
The “Cold Sweat” Moment: During one of these tests, the heater suddenly locked up. A red light started flashing: Error E545. I searched every manual—nothing. The heater was unresponsive. I had to literally dismantle the furniture to reach the Combi unit’s core. After a few tense minutes of panic, I found the physical reset button. A long press later, the “clac-clac” of the diesel pump returned. I’ve never been so happy to hear a clicking noise in my life.
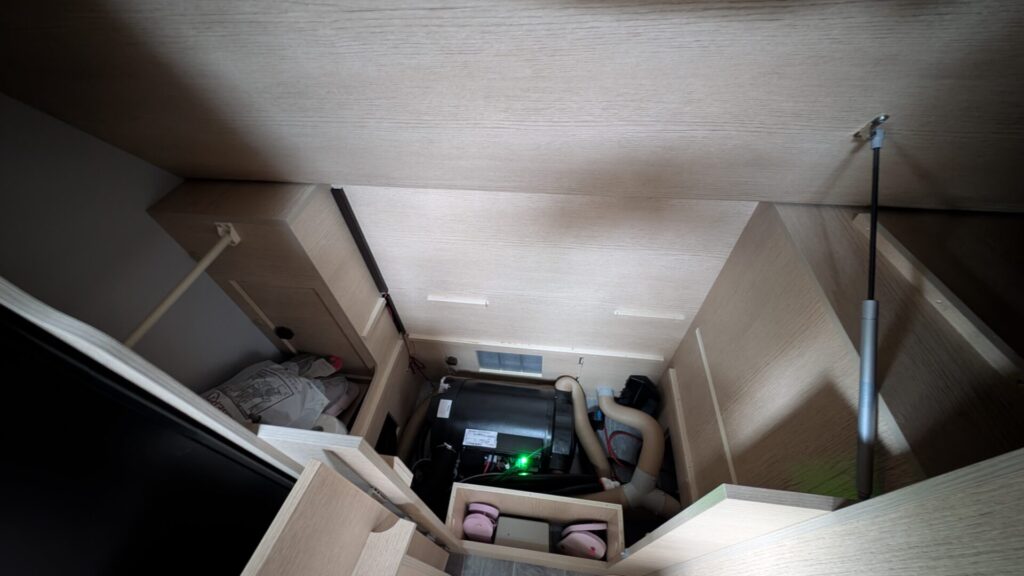
The Truma unit
Phase 4: Adding the “Pro” Features (Victron & Ultimatron)
Since I had a powerful screen, I figured: why stop at the heater? I wanted a “Command Center.”
- Victron SmartSolar MPPT: I connected to it via bluetooth based on chrisj7903/Read-Victron-advertised-data project. I had to fix some decryption issues because my newer MPPT used a slightly different frame format than the open-source libraries I found.
- Ultimatron LiFePo4: I integrated the battery status via Bluetooth/Serial based on the sergkh/node-ultimatron-battery project.
Now, in one single glance, I could see my room temperature, manage my heater and boiler, and check my solar harvest and my battery percentage.
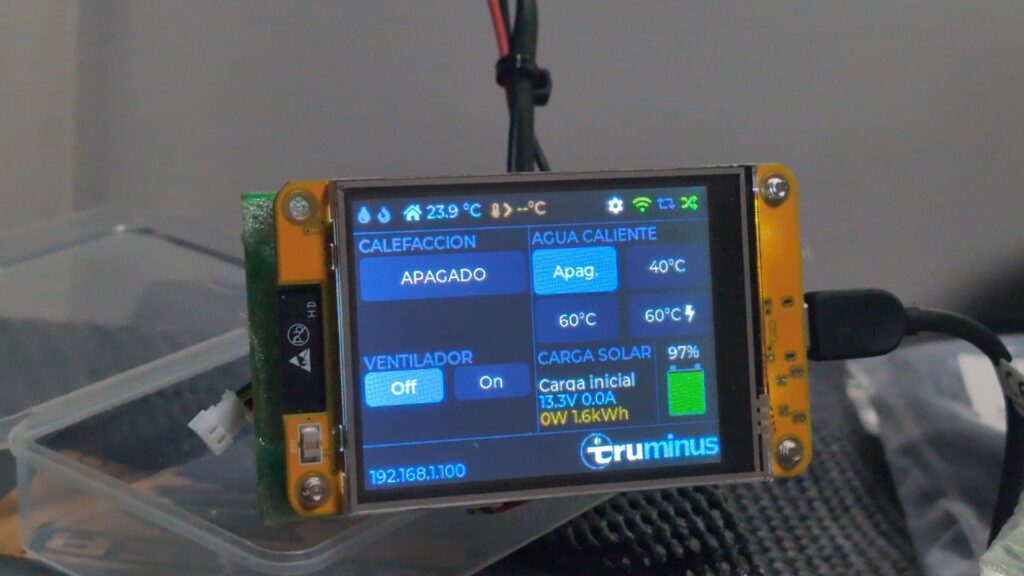
Screen showing the Solar and Battery stats
I also dedicated significant time to fine-tuning the web server to mirror the physical display’s state. By implementing a real-time WebSocket (WS) connection, I ensured that any change on the web interface is instantly reflected on the screen and vice versa, creating a seamless, zero-latency synchronization
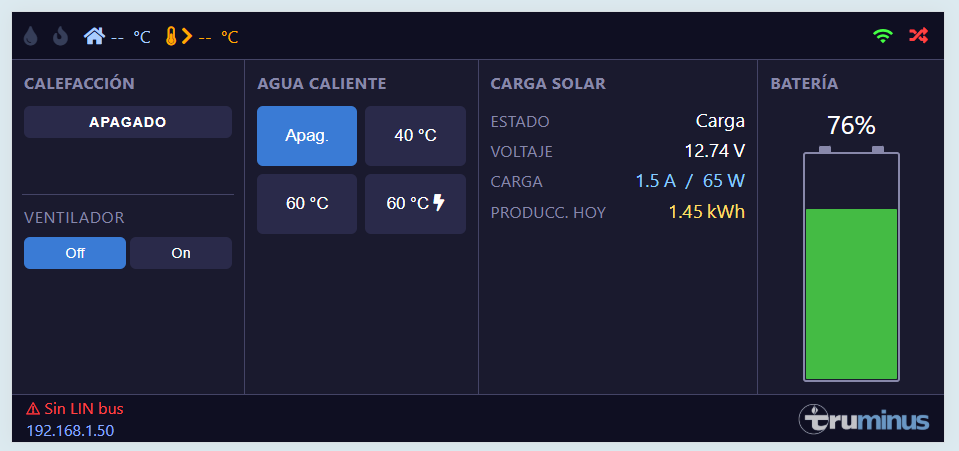
Landscape view of the web app
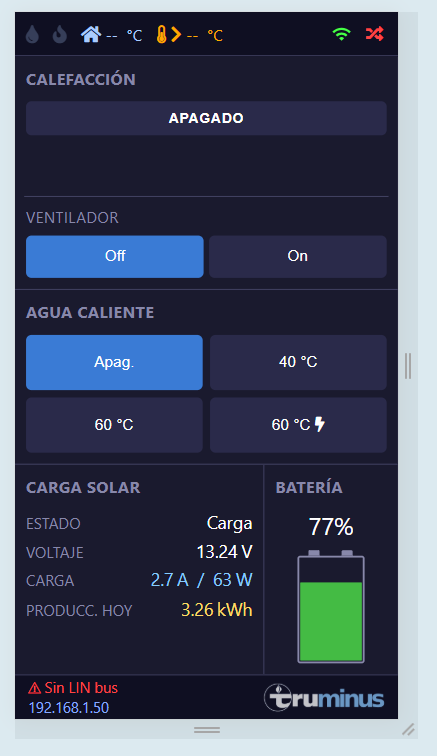
Portrait view of the web app
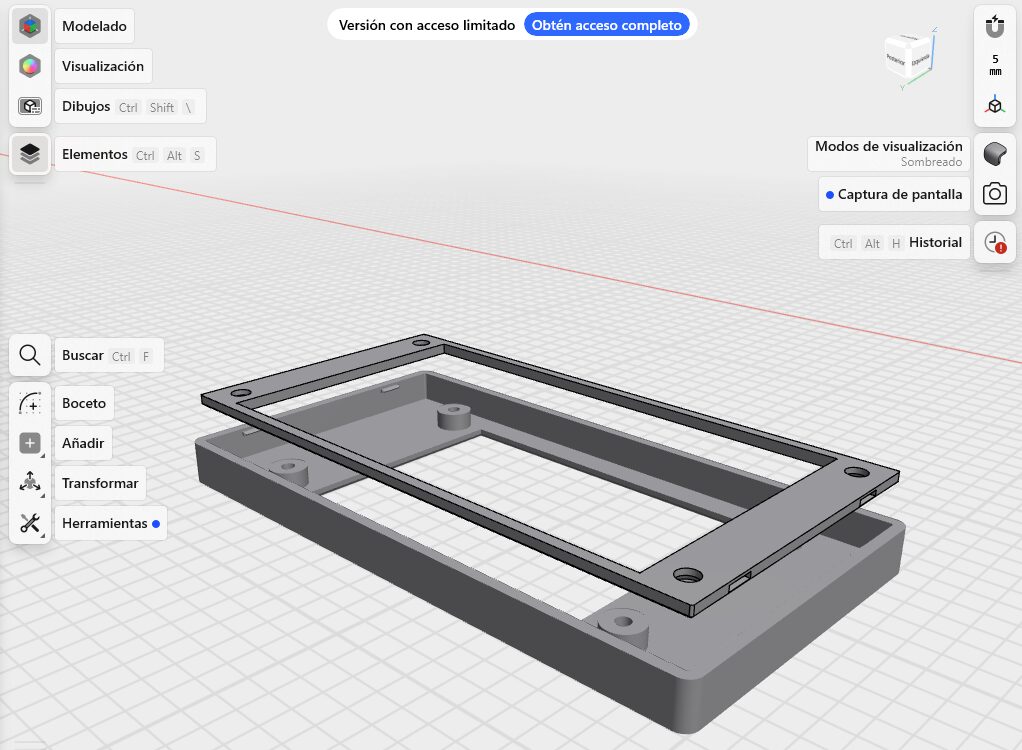
Phase 5: 3D Case Design & Installation
The final hurdle was physical. In my van, the auxiliary drop-down bed partially covers the original control area. I had to mount the new panel as low as possible so I could still see the temperature while lying in bed.
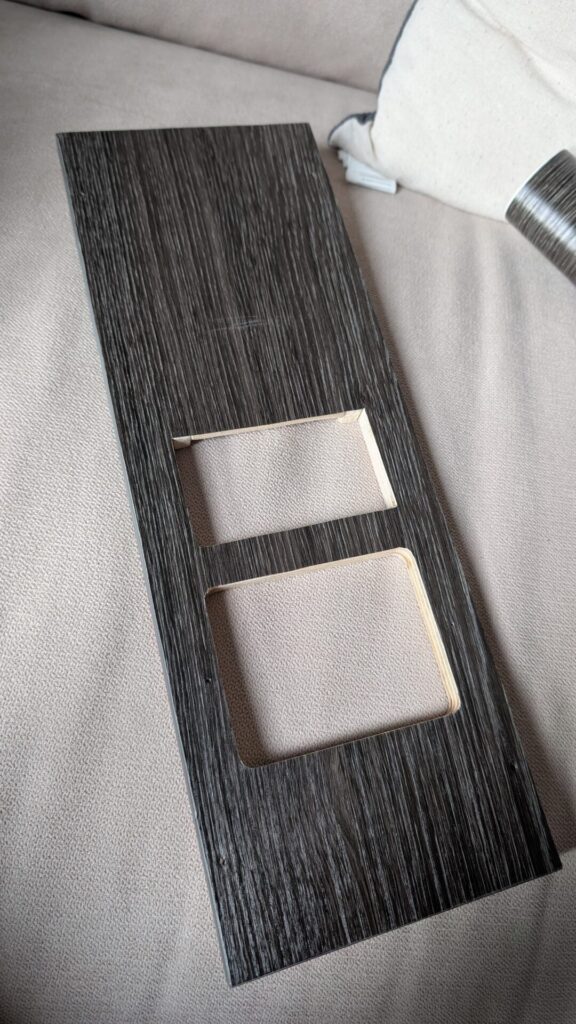
I used Shapr3D to design a bespoke enclosure. I wanted it to look factory-spec, so I added a recessed Truma logo. A friend printed it for me on a multi-color Bambu Lab printer, and the result was incredible. To hide the old screw holes in the wood, I used a matching wood-effect vinyl—the integration is seamless.
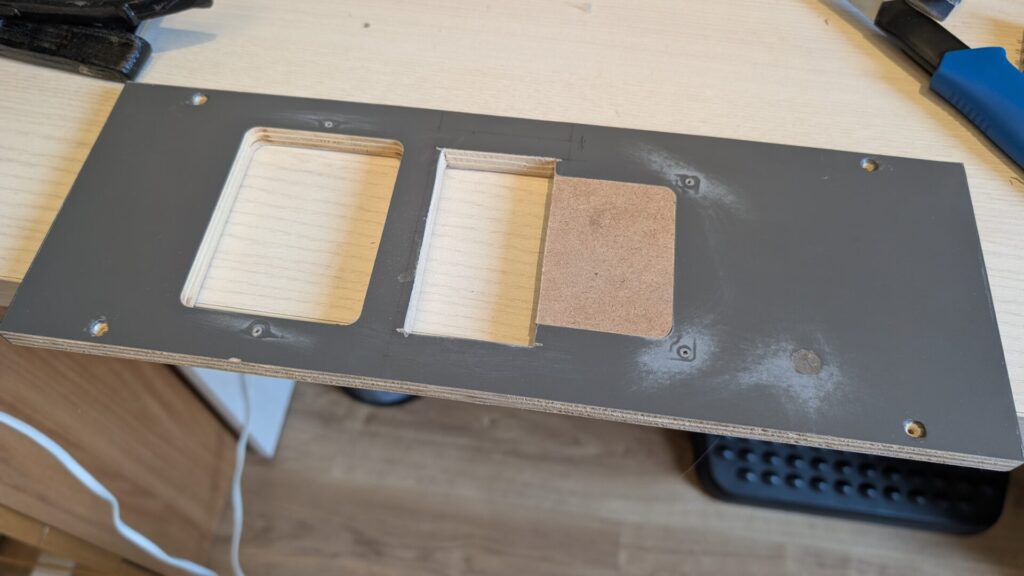
Wood Machining & Panel Adaptation
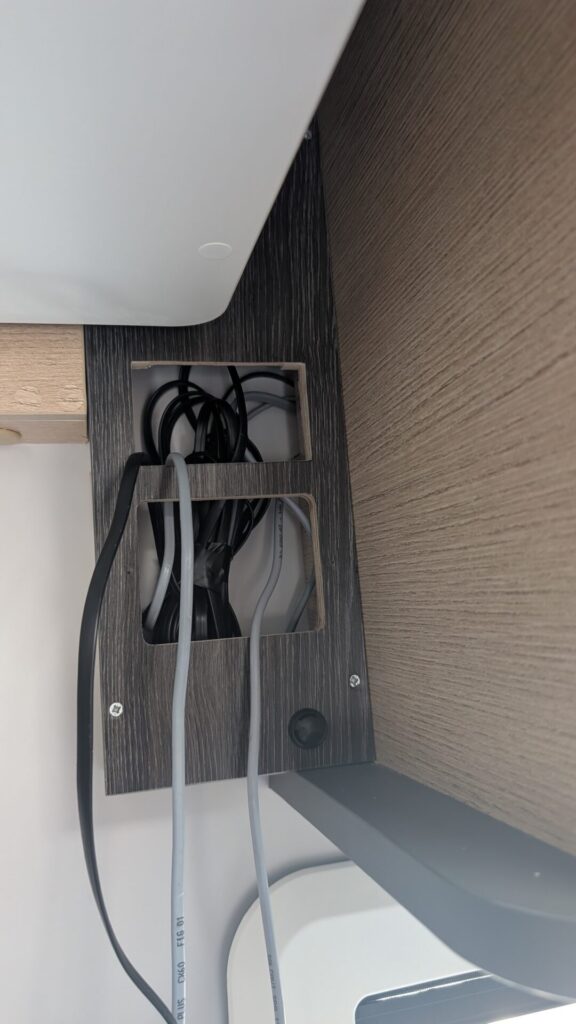
The physical integration was a delicate part of the project. In my motorhome, the auxiliary drop-down bed partially blocks the original control area when lowered. I had to study the dimensions carefully to reposition the new system as low as possible without losing visibility or functionality.
After taking precision measurements, I proceeded to machine the original wooden panel. This required immense patience; it was crucial not to splinter the plywood while creating the exact cutouts for the CYD screen and the internal electronics. Ensuring everything was aligned and firm, while taking advantage of the empty space behind the panel, was a major milestone
Conclusion
Developing this controller was a significant technical challenge. Reversing the proprietary TIN-bus protocol and resolving critical errors, such as the E545, required nerves of steel and extensive debugging.
The result is a system that outperforms the original hardware in responsiveness and telemetry. It now offers global remote access and a data granularity that exceeds the official iNet Box’s capabilities. Future iterations may include water level monitoring, but the current focus is the system’s deployment in a live environment.
